Photography, with me!
I have recently developed a fascination with the art of photography. I just love how people can capture such amazing moments by pressing one button, and they can keep it with them, forever.
Yesterday, it suddenly struck me that there are many other kids (elder's too..?) who wanted to learn about photography but never had the time. So I decided to put my learnings in a blog so that we all can, maybe, learn together through this blog...what say??! 😁😁
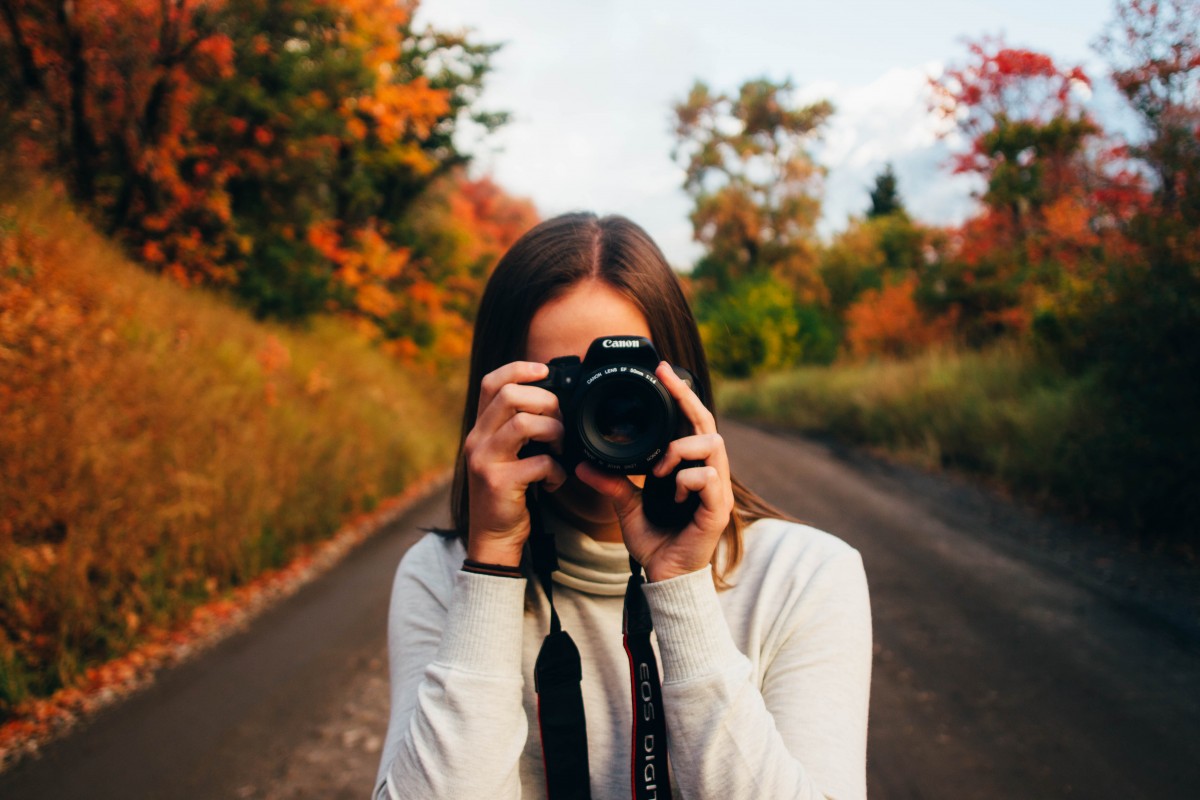
So without any further ado, let's dive right into it!
ISO
First up, we have ISO. ISO controls the sensitivity of the lens in your camera, and it's brightness. Now, people would start saying, "Oh hey! That means I am gonna bump my ISO up, to make the image as bright as possible." well, actually, you want the opposite of this, you want to keep your ISO as low as possible because when you bump your ISO up, the noise in the image also increases making your image look pretty bad.
So while taking a photo outside you would wanna keep your ISO low, maybe at 100 -150 range, in the shade at about 200, and when I'm indoor's I would keep my ISO at maybe 400 and maybe even 450.
Aperture
 Next up, we have Aperture, all our cameras have blades that open and close. Aperture is the reason that we can control those blades and therefore, control the light entering through it. But, here's the trick, the more the aperture, the smaller the hole, the lower the aperture, the bigger the hole. but that's not all. Aperture controls the depth of the field, which is way more important in taking a photograph. so forget what I said earlier because this is more important. Aperture is measured by f/stops, which is a math equation.
So if you are taking a portrait of a single person, I personally would keep my aperture at about F/2 or somewhere around that.
When it comes to the portrait of more than 1 person, I would bump my aperture to F/3-3.5 to make sure everybody in that line is in focus.
Shutter Speed
Last, we have Shutter Speed. Shutter Speed is basically the amount of time (measured in seconds ) that the shutter of the camera is open. Shutter speed controls the motion blur in the image from a lot of motion blur to a crisp clear picture of a dog in the backyard frozen in place.
It goes from 1/100", 1/200" all the up to 1/8000' in some of the very good cameras. It can also go the opposite way to about 1", 2", 10" and also up to 30"!
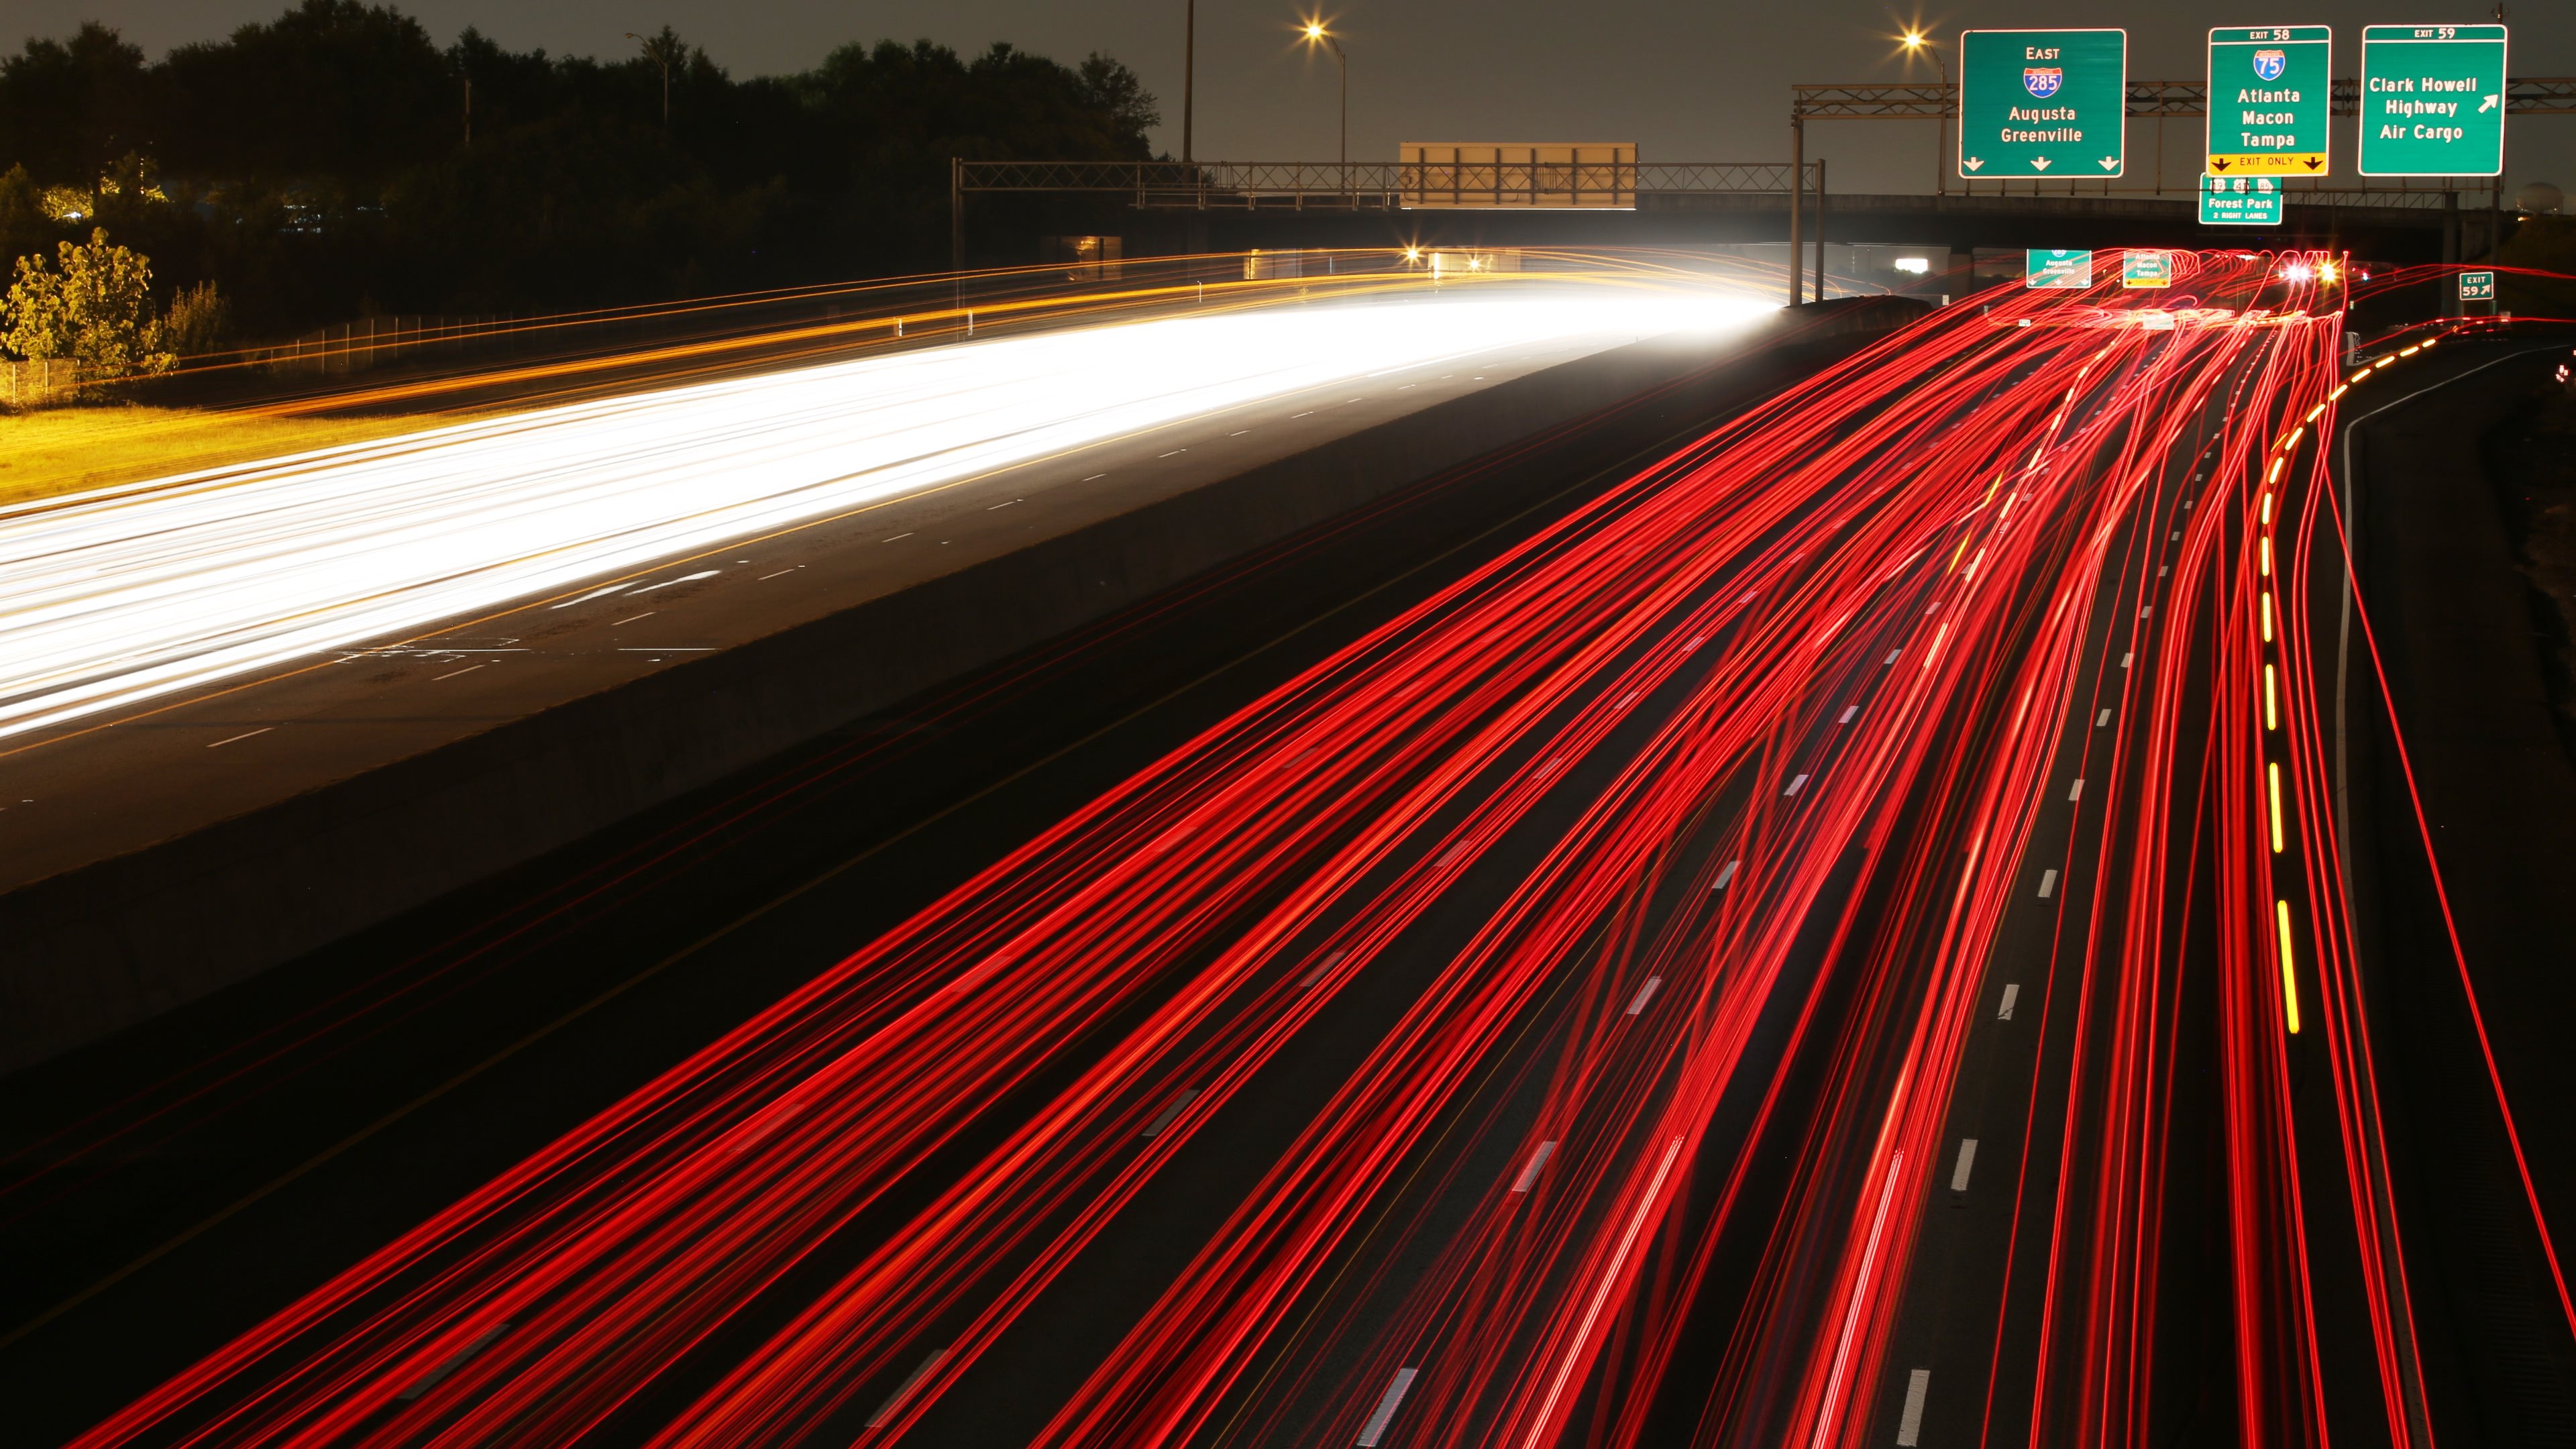
Here is a traffic blur image that was shot at 30" shutter speed.
With that being said, today we have discussed what is ISO, aperture, and Shutter Speed.
Phew!!! that just about how much you can expect a 14-year-old boy to do on a Sunday!
More to follow folks ... keep tuned in!!
God bless kaavya...congratulations!!
ReplyDeleteCongratulations Kaavya. Very beautiful illustration of photography for beginners. God bless you my child. Keep it up. Lots of love ❤️
ReplyDelete